Cottage Chic Renovations
Cottage Chic Renovations
Blog Article
 Know How To Replace Taps In Just 4 Simple Steps - A Very Detailed Beginner's Guide
Replacing taps might seem daunting, but with the right guidance, it’s a task even beginners can handle. Here’s a step-by-step guide to help you replace your taps effectively.
Tools and Materials You'll Need:
- Adjustable wrench
- Basin wrench
- Screwdriver
- Plumber’s tape
- New taps
- Towels or bucket
Step-by-Step Guide
1. Turn Off Water Supply:
Before starting, ensure you turn off the water supply to prevent any leaks or water damage. You can usually find the shut-off valves under the sink. Turn these valves clockwise to close them. After shutting off the valves, turn on the tap to release any remaining water in the pipes.
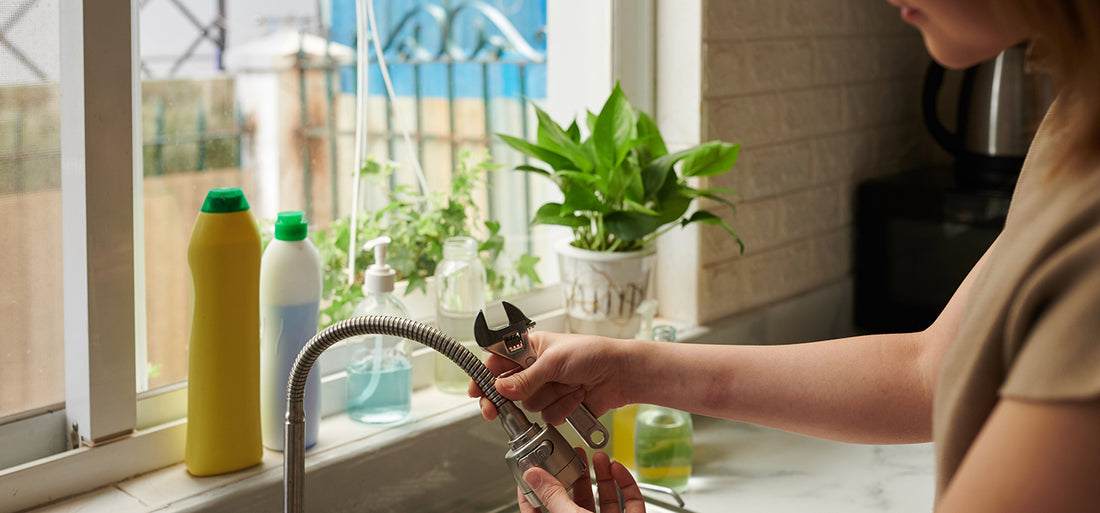
2. Remove Old Taps:
Use an adjustable wrench to disconnect the water supply lines from the tap. Place a bucket or towels under the sink to catch any remaining water. Next, use a basin wrench to loosen and remove the nuts that hold the tap in place. Carefully lift the old tap out from the sink.
3. Install New Taps:
Place the new tap into the mounting holes. Secure it from underneath using the provided nuts and washers. Ensure the tap is aligned correctly before fully tightening the nuts. Wrap plumber’s tape around the threads of the water supply lines to ensure a tight seal and prevent leaks. Reconnect the water supply lines to the new tap.
4. Test for Leaks:
Turn the water supply back on and slowly open the new tap. Check for any leaks around the connections. If you notice any drips, tighten the connections a bit more and ensure the plumber’s tape is properly applied. Once everything is secure and leak-free, your new tap is ready for use.
Detailed Tips and Tricks
- Measure Twice, Cut Once: Before purchasing new taps, measure your sink’s existing holes to ensure the new taps will fit perfectly.
- Use Plumber’s Putty: Apply plumber’s putty around the base of the new tap before installation. This provides an additional seal and helps prevent leaks.
- Take Pictures: Document the existing setup before removal. This can serve as a reference if you get stuck during reassembly.
- Check Pressure: After installing the new tap, check the water pressure. If it’s low, ensure there are no kinks in the hoses and that the valves are fully open.
Highlighted Kitchen Taps from Tapron
While replacing your taps, consider upgrading to high-quality fixtures from Tapron. Here are some options:
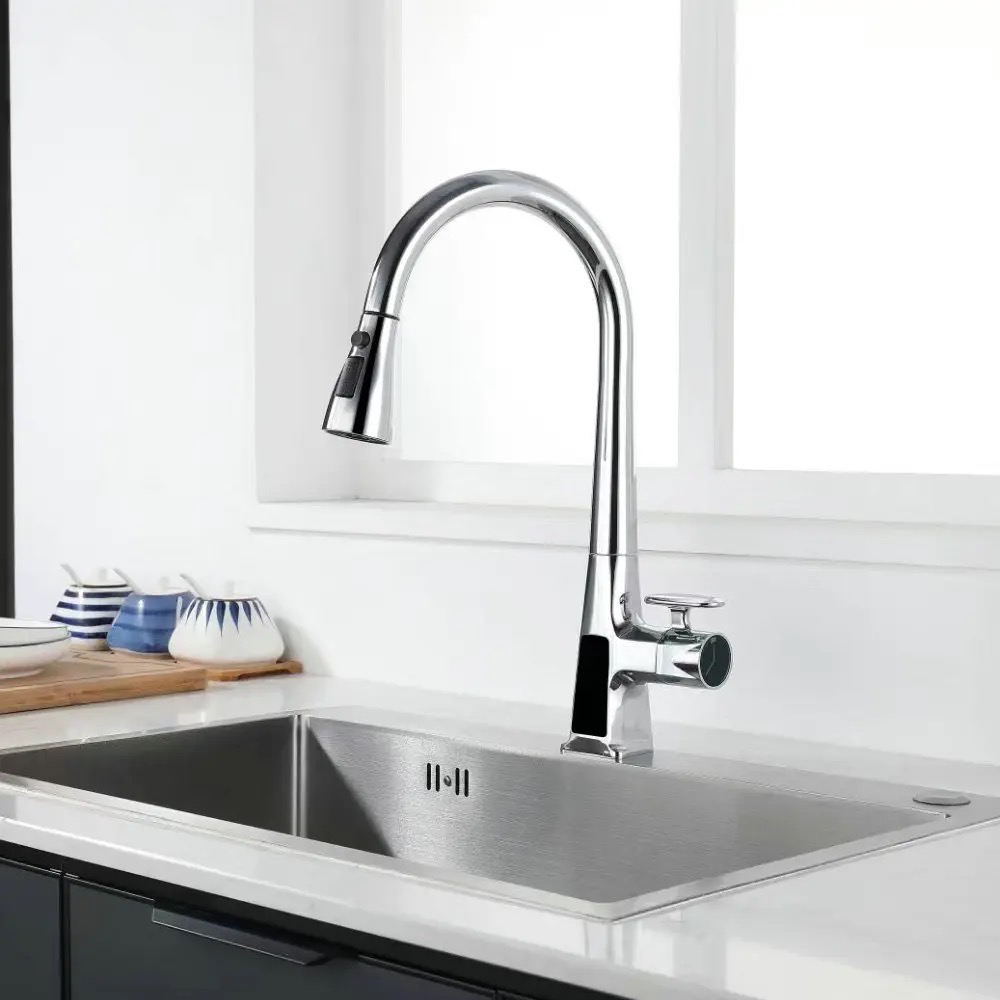
1. Pull-Out Kitchen Taps
These taps offer enhanced flexibility and functionality, making it easier to rinse dishes and clean the sink area. The extendable hose provides convenience and versatility.

2. Modern Kitchen Taps
Featuring sleek designs and innovative features, modern kitchen taps provide both style and efficiency for contemporary kitchens. They often include features like touchless operation and precise water flow control.
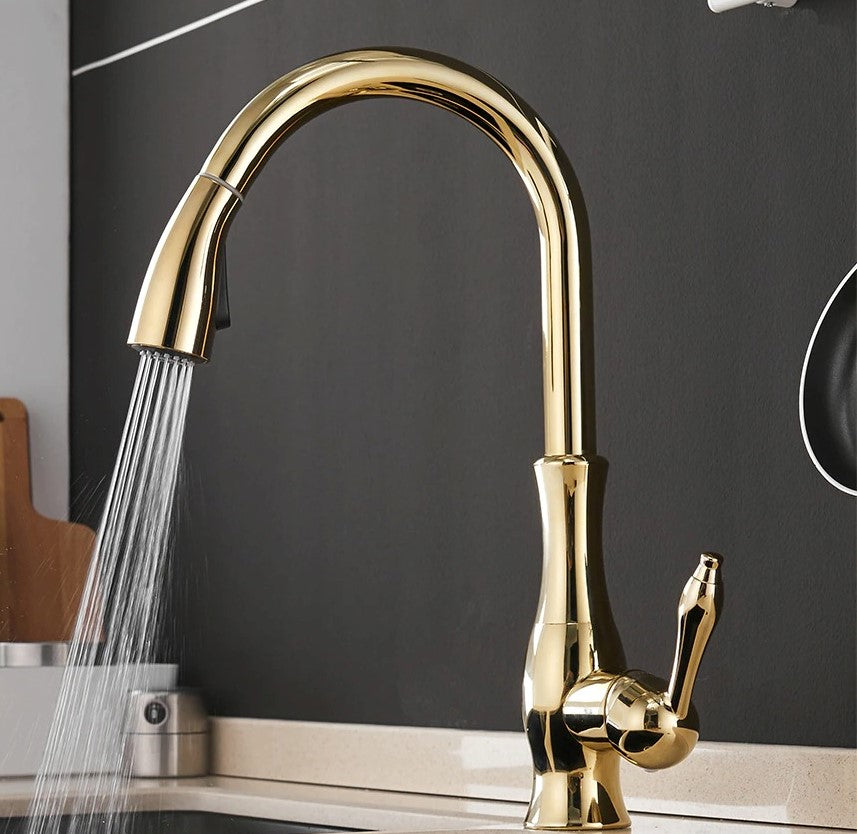
3. Gold Kitchen Mixer Taps
Add a touch of luxury to your kitchen with gold kitchen mixer taps. They offer precise control over water temperature and flow while enhancing the overall aesthetic with a sophisticated finish.
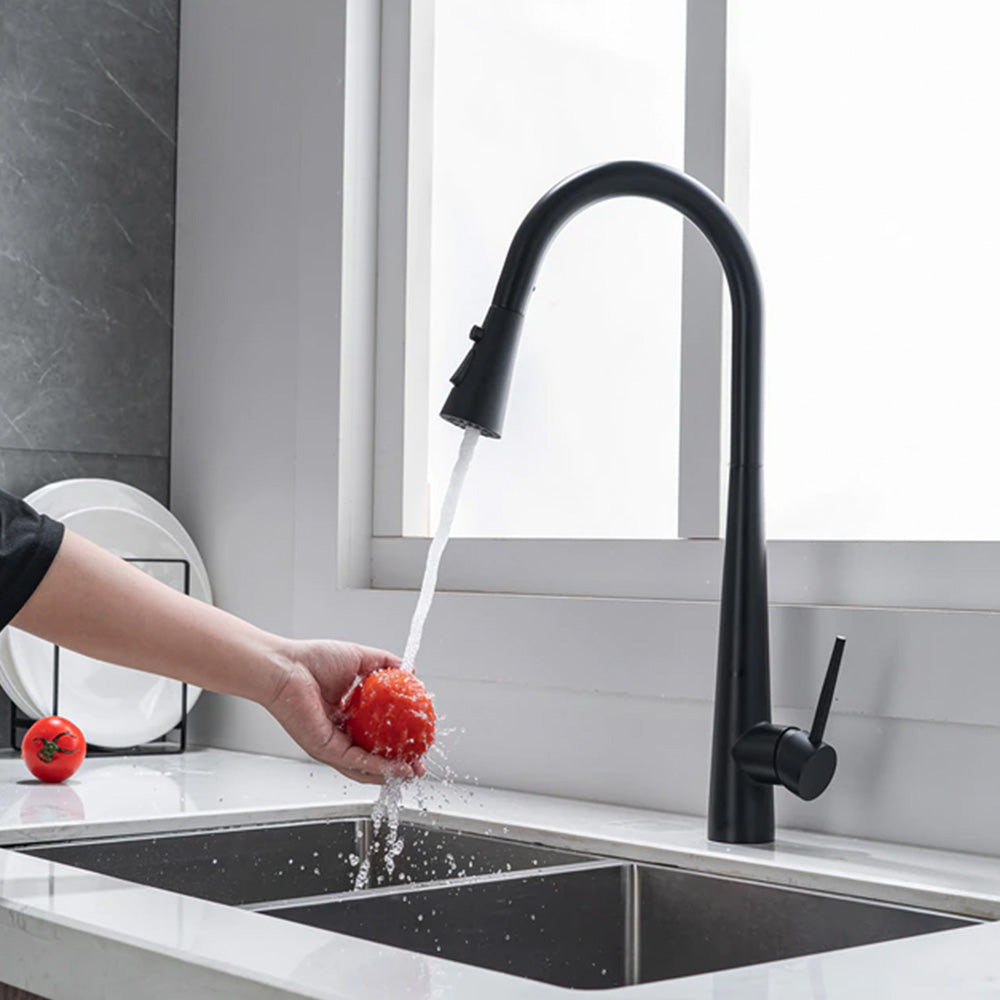
4. Black Kitchen Taps
Black kitchen taps create a bold, modern statement and are designed for durability and ease of use. They add a sleek, contemporary look to any kitchen design.
Conclusion
Replacing taps is a straightforward process with the right tools and guidance. By following these steps, you can efficiently replace your taps and enhance your kitchen's functionality and style. Visit Tapron UK for a wide selection of high-quality kitchen taps to suit your needs.